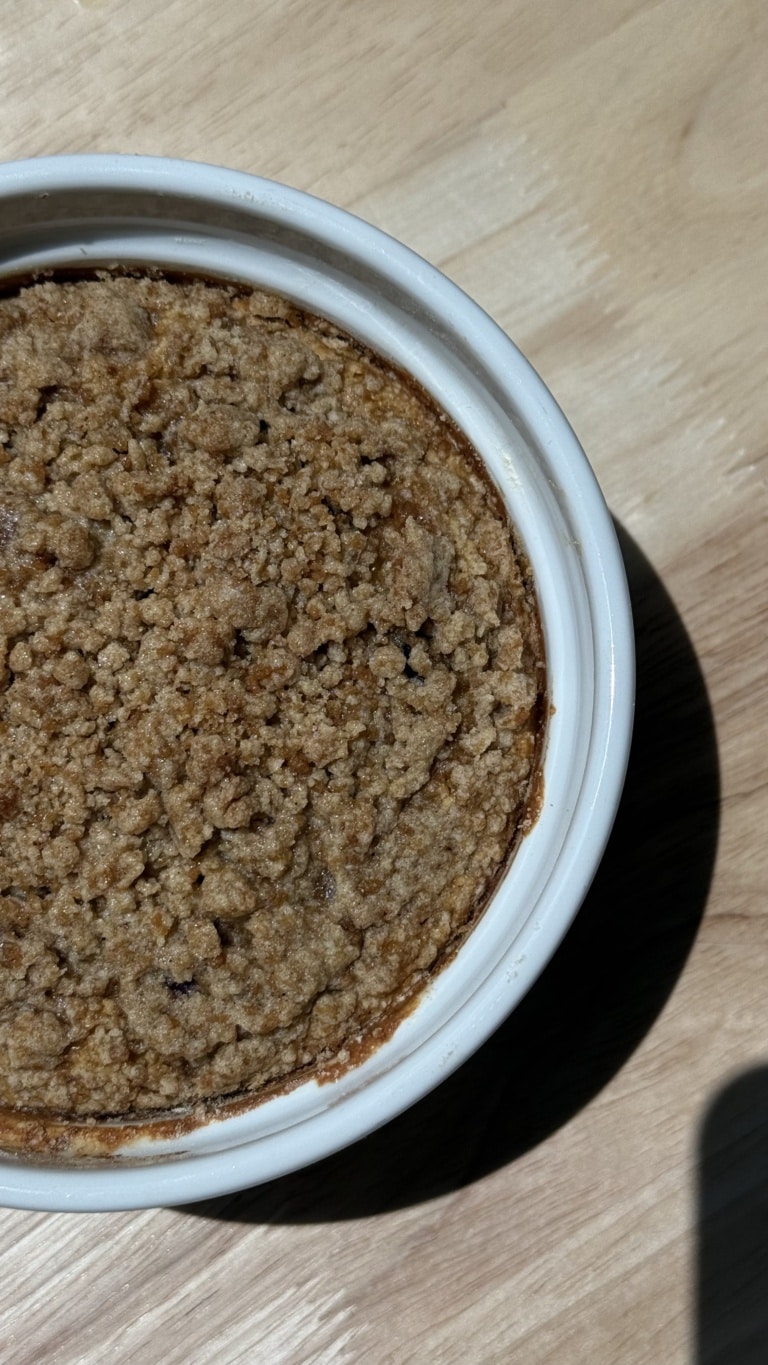
Chocolate Covered Rice Krispie Treats
These chocolate Rice Krispie treats are everything you love about the classic nostalgic dessert — crispy, gooey, and sweet — with a chocolatey upgrade that makes them feel extra special. They’re easy to make, kid-friendly, and perfect for sharing, gifting, or keeping on hand for quick treats throughout the week.
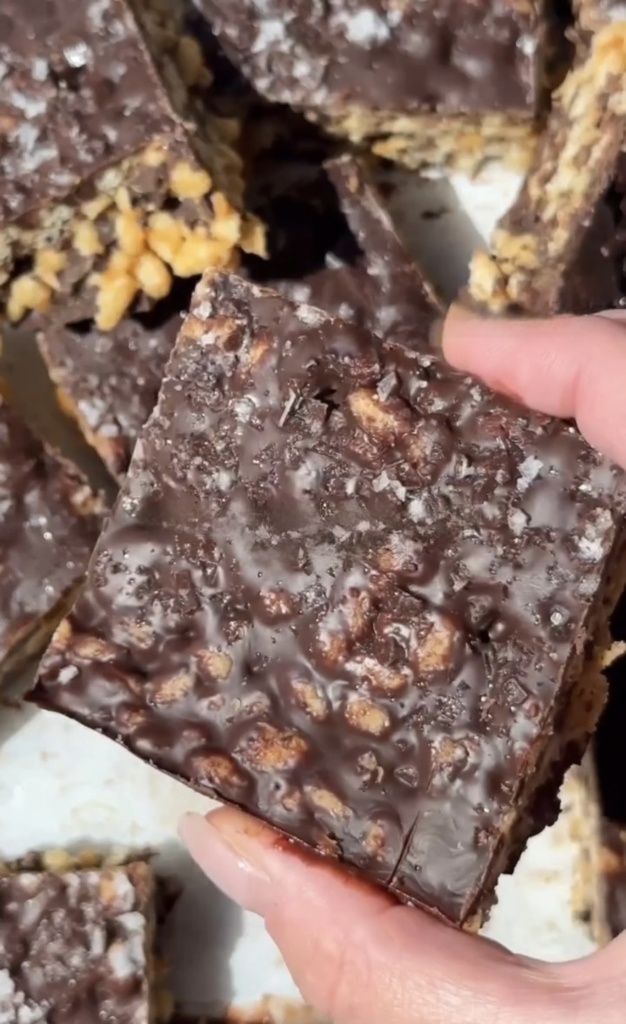
If you grew up loving classic Rice Krispie treats, this version takes things just one step further by dipping them in rich, melted chocolate. It’s a simple addition that makes a big impact, turning a familiar favorite into a dessert that feels bakery-worthy while still being incredibly approachable.
This post may contain affiliate links, please read our privacy policy for details.

Why You’ll Love These Chocolate Rice Krispie Treats
These treats are on repeat for a reason:
- Crispy, gooey texture everyone loves
- Chocolate-coated for an extra indulgent finish
- Easy to make with pantry staples
- Perfect for parties, bake sales, or lunchbox treats
- Kid-approved and adult-loved
They’re simple, nostalgic, and always a crowd-pleaser.
Ingredients for Chocolate Rice Krispie Treats
This chocolate Rice Krispie treats recipe uses classic ingredients with a chocolate twist.
- Rice cereal
The crunchy base that gives these treats their signature texture. - Marshmallows
Melt into a gooey binder that holds everything together. - Butter
Adds richness and helps keep the treats soft. - Vanilla extract
Enhances the sweetness and flavor. - Chocolate chips or melting chocolate
For dipping or drizzling over the treats. - Optional toppings
Sprinkles, flaky sea salt, or chopped nuts.
How to Make Chocolate Rice Krispie Treats
Step 1. Make the Rice Krispie base
Melt butter in a large pot over low heat. Add marshmallows and stir until completely melted and smooth. Remove from heat and stir in vanilla.
Step 2. Add cereal
Fold in the rice cereal until fully coated with the marshmallow mixture.
Step 3. Press into pan
Transfer the mixture to a lined baking dish and press firmly into an even layer. Let cool slightly so it sets.
Step 4. Melt the chocolate
Melt chocolate in the microwave or over a double boiler until smooth.
Step 5. Dip or drizzle
Cut the treats into squares, then dip each piece into the melted chocolate or drizzle chocolate over the tops.
Step 6. Set
Place the treats in the refrigerator until the chocolate is fully set.
Ingredient Swaps & Variations
These homemade chocolate Rice Krispie treats are easy to customize.
Different chocolate ? Use milk, dark, or white chocolate.
Extra flavor ? Swirl peanut butter into the marshmallow mixture.
Crunch boost ? Top with chopped nuts or crushed pretzels.
Sweet-salty ? Sprinkle flaky sea salt over the chocolate before it sets.
Tips for the Best Chocolate Rice Krispie Treats
- Press the cereal mixture firmly so the treats hold their shape
- Use good-quality chocolate for the smoothest coating
- Let the treats cool before dipping to prevent melting
- Rewarm chocolate as needed to keep it smooth while dipping
How to Store Chocolate Rice Krispie Treats
- Room temperature: Store in an airtight container for up to 3 days
- Refrigerator: Up to 1 week
- Freezer: Freeze for up to 2 months and thaw before serving
They stay crisp and delicious even after storing.
Frequently Asked Questions
Yes! These treats are great for making ahead and store well for several days.
Any melting chocolate works well — dark, milk, or white chocolate are all great options.
Absolutely. Kids can help press the cereal mixture and add toppings.
Press the mixture firmly into the pan and allow it to set before cutting and dipping.
You May Also Like

Chocolate Rice Krispie Treats
Ingredients
- 1 cup peanut butter
- 1/4 cup honey
- 3 cups rice crisps
- 1 cup chocolate chunks
Instructions
- In a large bowl, combine the peanut butter and honey until smooth and well incorporated. This creates your base for the rice crispy mixture.
- Add the rice crisps into the peanut butter-honey mixture. Stir gently until all the crisps are fully coated.
- Line an 8×8 inch pan with parchment paper. Transfer the rice crispy mixture into the pan and spread it out evenly. Press down gently to compact the mixture.
- Melt the chocolate gems (@hukitchen is a great clean brand!) in the microwave or using a double boiler. Once melted, pour the chocolate over the rice crispy base, spreading it out evenly.
- Sprinkle with flakey sea salt for that perfect sweet and salty balance.
- Place the pan in the freezer for at least 30 minutes to set the chocolate and firm up the treats.
- Once the mixture is firm, cut it into squares, and enjoy your healthy, chocolatey treat!
Notes
- Press firmly: Compacting the cereal mixture helps the treats hold together once cut.
- Chocolate thickness: For a thicker chocolate layer, dip once, let set, then dip again.
- Work quickly: Chocolate can firm up as you work — reheat gently if needed.
- Optional toppings: Add sprinkles or sea salt before the chocolate sets.
- Serving tip: Let treats sit at room temperature for a few minutes after chilling for the best texture.