DIY Flavored Salts
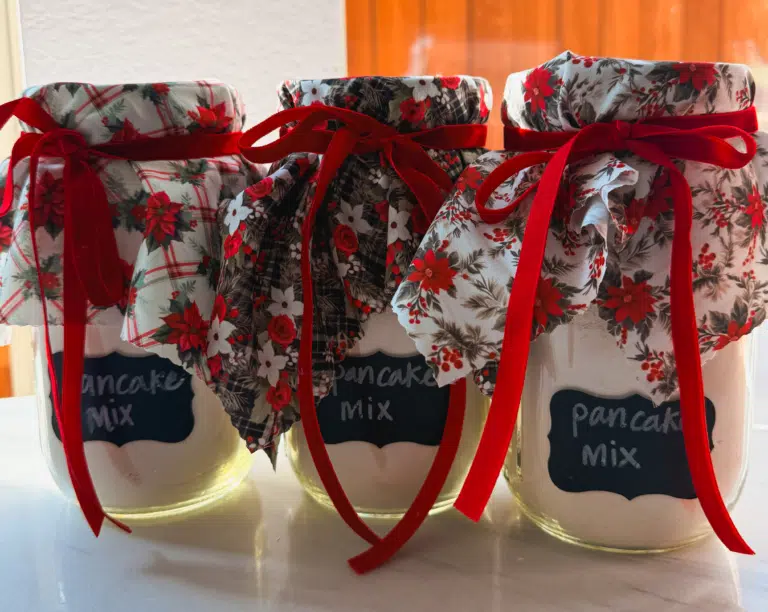
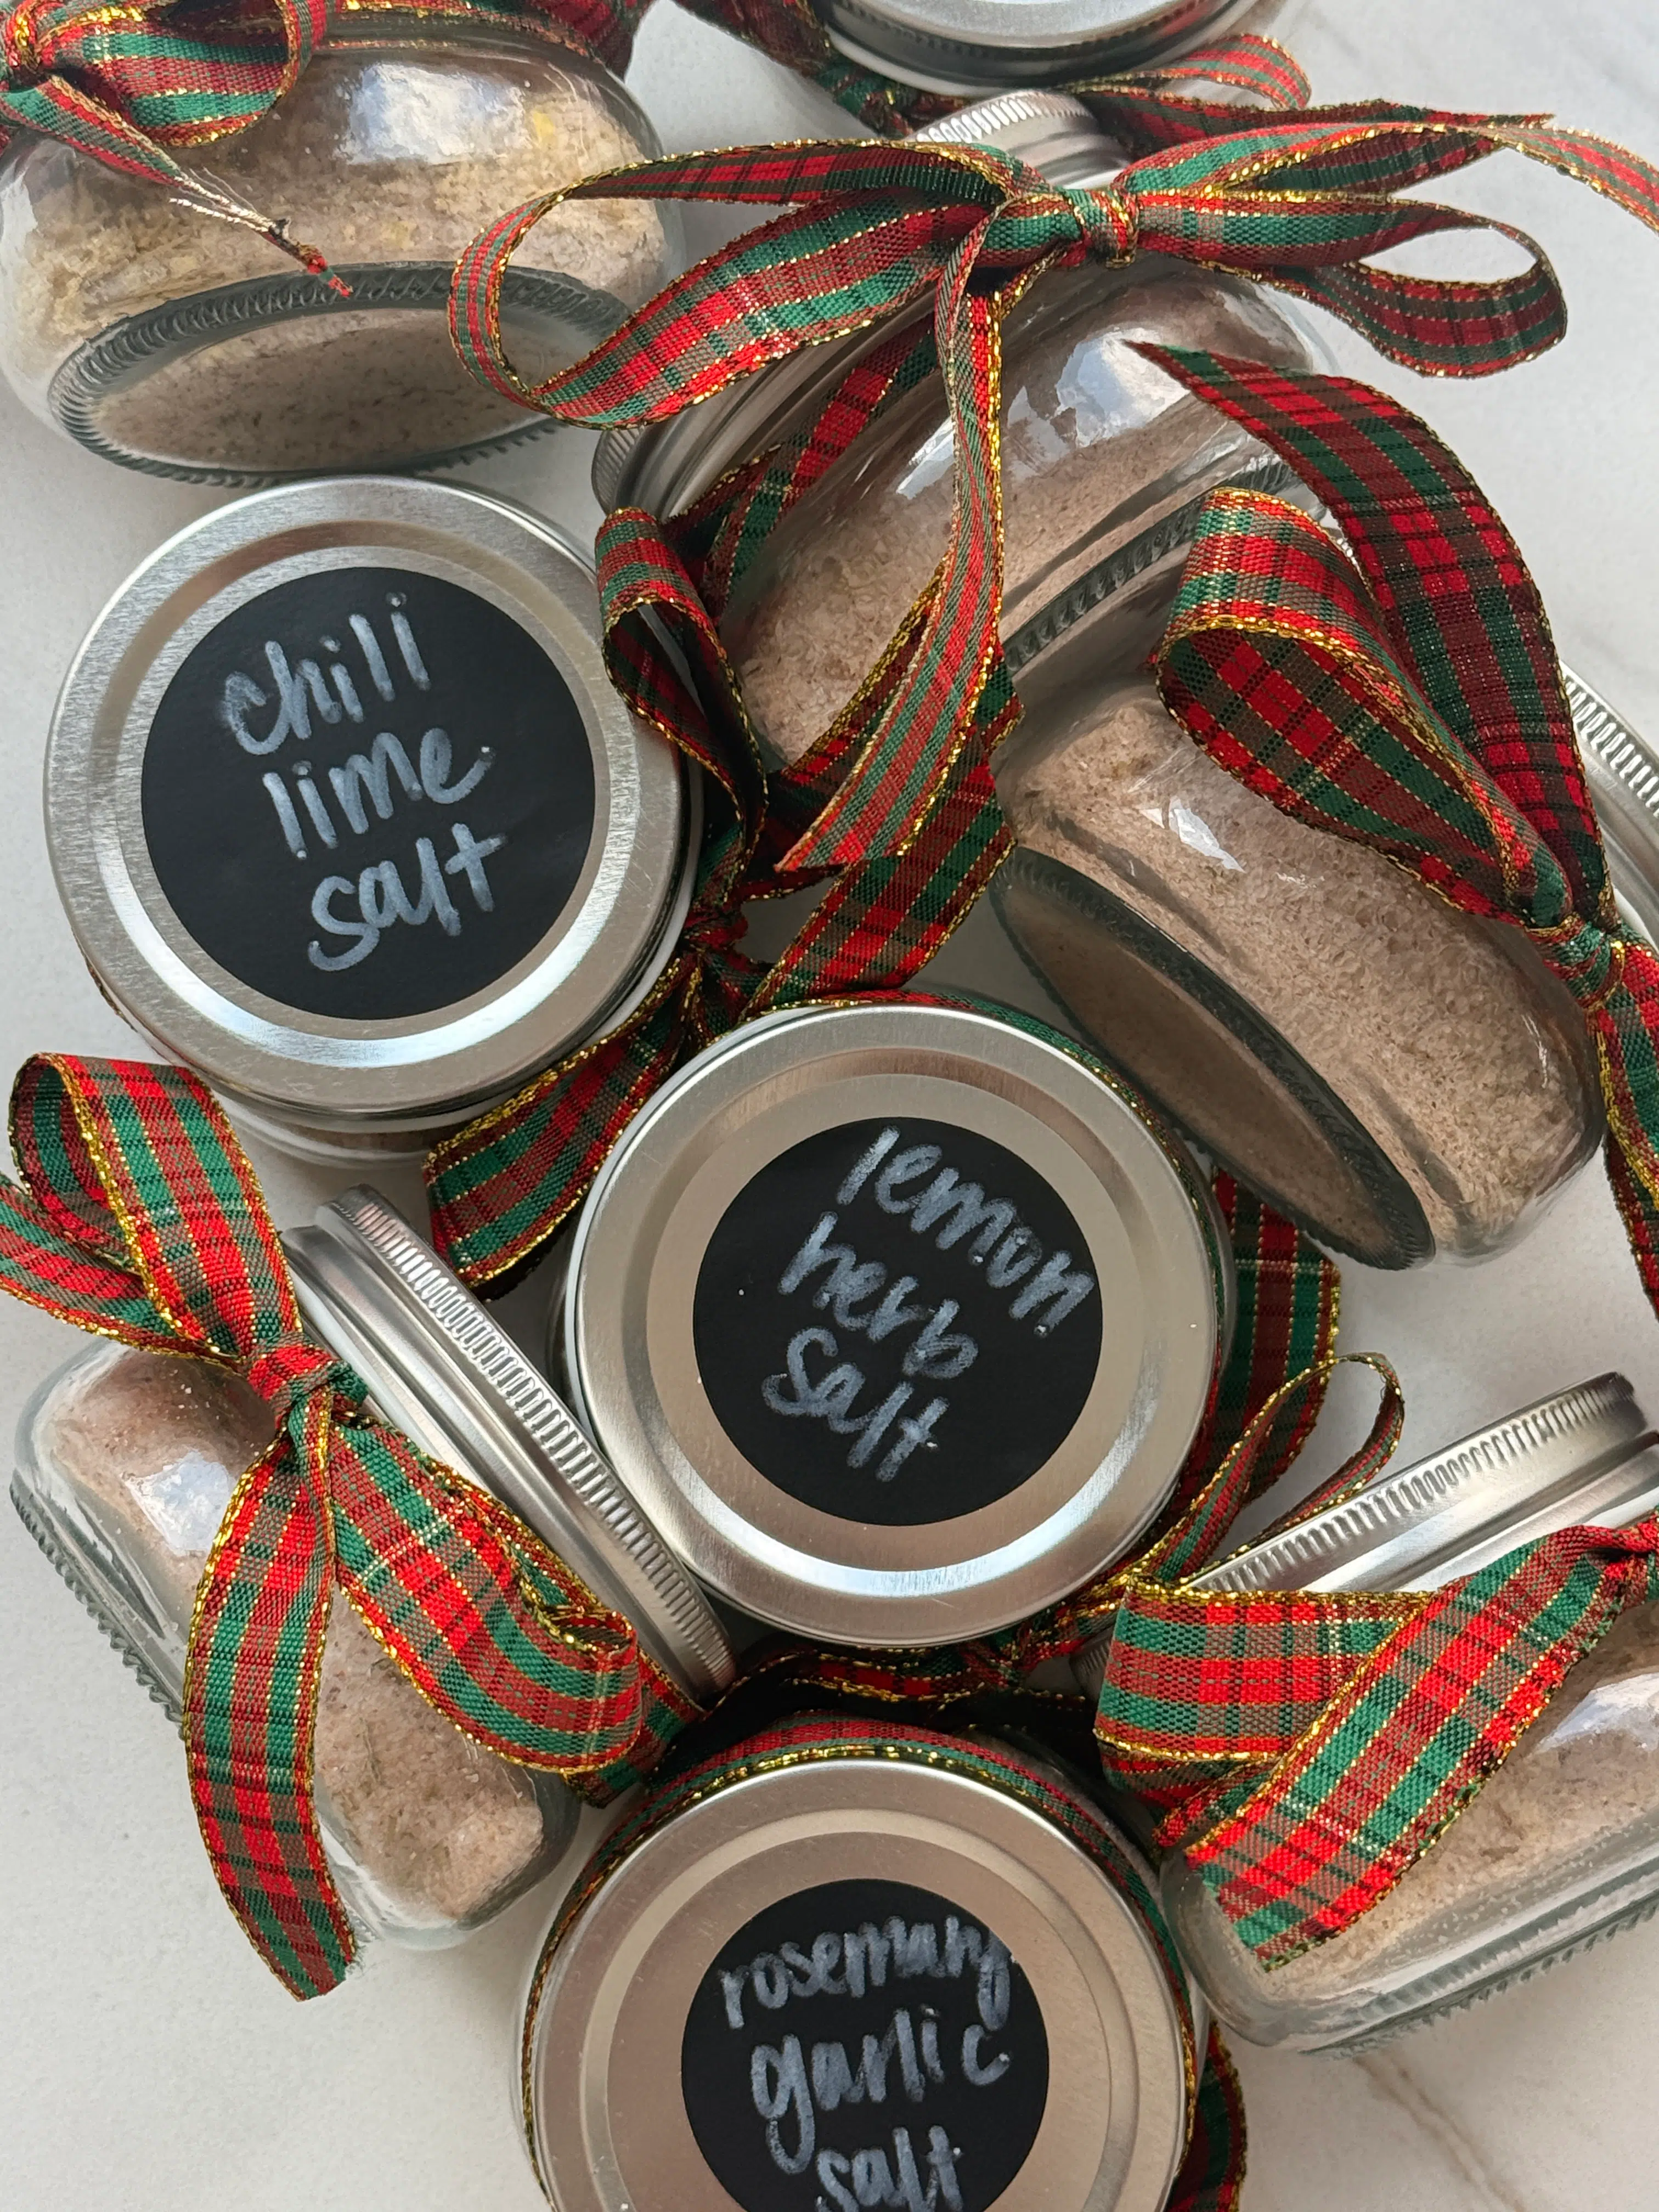
One of my favorite things about homemade gifts is how something so simple can feel genuinely special. These flavored salts are the perfect example. They take only a few minutes to mix together, yet once they’re packaged in small glass jars with little kraft labels and twine, they look like something you’d find at a gourmet kitchen shop. They’re beautiful, practical, and the kind of gift people actually use long after the holidays are over.
Salt has this magical ability to absorb the flavor of whatever you mix into it. Citrus zest adds brightness and lift, herbs bring woodsy or floral notes, and spices create depth and warmth. These salts are intensely aromatic without being overpowering. A tiny sprinkle transforms roasted potatoes, eggs, avocado toast, grilled vegetables, chicken, and soups into something more flavorful and elevated. They’re also naturally refined-sugar-free and pantry stable, which makes them ideal for gifting.

This trio includes three of my most-loved blends:
- Rosemary Garlic Salt, which tastes great in cowinter dinners;
- Chili Lime Salt, which is bright, zesty, and a little spicy;
- and Lemon Herb Salt, which feels clean, fresh, and perfect for roasted vegetables or salads.
Each batch fits perfectly in a 2 to 4 oz jar and stays fragrant for months. Once you make them, you’ll want jars for yourself too. Plus, they make the most thoughtful gift when paired with my Herb-Infused Olive Oil.
SHOP MY POST

Why You’ll Love This Recipe
These flavored salts are:
- ready in minutes
- naturally refined-sugar-free
- stunning in glass jars
- long-lasting
- affordable to make
- customizable
- aromatic and cozy
- a beautiful homemade gift
If you need something thoughtful that doesn’t require baking or complicated steps, flavored salts are the perfect gift.
What Are Flavored Salts?
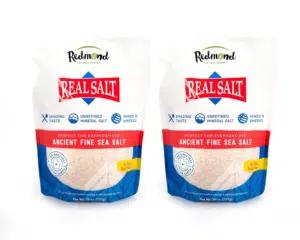
Flavored salts are simple blends of fine sea salt mixed with herbs, spices, and citrus zest. As the ingredients sit together, the salt pulls in their essential oils and aromas, creating a beautifully seasoned finishing salt that adds a burst of flavor to anything you sprinkle it on.
Citrus zest gives the salts bright, fresh notes, while herbs and spices add savoriness and depth. The result is a seasoning that tastes layered and intentional, even though the recipe itself is incredibly easy. Because salt naturally preserves what it comes into contact with, these blends stay fresh and shelf-stable for months when stored correctly.
Ingredients
Each recipe makes about one 2 to 4 oz jar.
Rosemary Garlic Salt
- 1/3 cup fine sea salt
- 1 tsp dried rosemary (or 1 tbsp finely minced fresh rosemary)
- 1 tsp garlic powder
Chili Lime Salt
- 1/3 cup fine sea salt
- 1 tsp chili powder
- 1/2 tsp smoked paprika
- Zest of 1 lime
Lemon Herb Salt
- 1/3 cup fine sea salt
- Zest of 1 lemon
- 1 tsp dried thyme or dried rosemary
Ingredient Swaps
- No citrus zest available ? Use dried lemon peel or dried lime powder. These add bright flavor without extra moisture and last even longer.
- Want the Chili Lime Salt spicier ? Add cayenne or crushed red pepper. Just a pinch goes a long way.
- Prefer extra herbal notes in Lemon Herb Salt ? Add basil, sage, or Italian seasoning. This makes it even more aromatic.
- Prefer coarse salt ? Use coarse sea salt. Pulse the finished salt in a food processor for a finer texture if desired.
- Only have fresh herbs ? Mince very finely and dry in the oven for 5 to 7 minutes so there’s no moisture left. This keeps the salts shelf-stable.
Equipment You’ll Need
Microplane or fine zester
For removing zest without the bitter pith.
Parchment paper + sheet pan
For air-drying or oven-drying the salts.
3 small bowls
One for each flavor.
Mini funnel
Helps fill spice jars neatly.
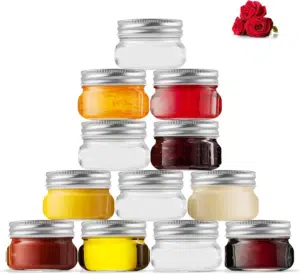
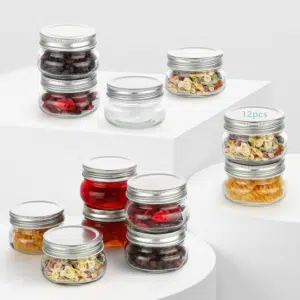
2–4 oz airtight spice jars
Clear glass jars show off the colors and textures beautifully.
Fork or small whisk
For breaking up clumps and mixing evenly.
How to Make Flavored Salts:
Step 1: Combine Ingredients
In separate small bowls, mix each flavored salt using the exact ratios listed above. Stir until the herbs, spices, and zest are fully incorporated.
Step 2: Dry the Salts
Drying is essential whenever zest or fresh herbs are used. This keeps the salt shelf-stable and prevents clumping.
Spread each salt onto its own section of a parchment-lined sheet pan.
Let air-dry for 4 to 12 hours, or for a faster method, bake at 200°F for 5 to 7 minutes until the zest feels dry to the touch.
Step 3: Break Up Clumps
Once dry, use your fingers or a fork to crumble any clumps. The salt should be loose and easy to sprinkle.
Step 4: Transfer to Jars
Use a funnel to pour each flavored salt into a 2 to 4 oz jar. Seal tightly with a lid.
Step 5: Label and Store
Label each jar so the flavor is clear. Add twine or ribbon if gifting.
Storage and Shelf Life
Store flavored salts at room temperature in airtight jars for up to 6 months.
If the citrus zest was dried thoroughly, the salts will stay loose and aromatic.
If moisture ever enters the jar or if the salt forms hard clumps that won’t break apart, it’s time to make a fresh batch. Properly dried salts should remain fluffy and fragrant for the full 6 months.
Gifting Ideas
A trio of salts makes such a beautiful gift. Here’s how to package them:
- Use three matching spice jars.
- Label each jar clearly.
- Tie the set together with twine or ribbon.
- Add a tiny wooden scoop to one of the jars.
- Include a mini card with serving ideas:
“Sprinkle on roasted veggies, eggs, avocado toast, chicken, pasta, or salads.”
These are perfect for neighbors, teachers, family, and anyone who loves cooking.
Frequently Asked Questions
Yes, but they must be dried thoroughly. Finely mince the herbs and dry in the oven for 5 to 7 minutes. Fresh herbs contain moisture, which can reduce shelf life.
Citrus zest and fresh herbs contain moisture. Drying ensures the flavored salts stay shelf-stable and don’t develop clumps or spoil.
Absolutely. Use coarse sea salt and pulse the mixture in a food processor after drying for your desired texture.
These salts are more concentrated than plain salt. Start with a pinch and adjust to taste.
Yes. Kids can zest citrus, stir the blends, and help scoop the salts into jars.
You May Also Like
DIY Flavored Salts
Ingredients
Rosemary Garlic Salt
- 1/3 cup fine sea salt
- 1 tsp dried rosemary or 1 tbsp finely minced fresh rosemary
- 1 tsp garlic powder
Chili Lime Salt
- 1/3 cup fine sea salt
- 1 tsp chili powder
- 1/2 tsp smoked paprika
- Zest of 1 lime
Lemon Herb Salt
- 1/3 cup fine sea salt
- Zest of 1 lemon
- 1 tsp dried thyme or dried rosemary
Instructions
- Combine salt with herbs, spices, and citrus zest in small bowls.
- Spread onto parchment and dry for 4 to 12 hours or bake at 200°F for 5 to 7 minutes.
- Once dry, break up clumps with your fingers or a fork.
- Funnel into spice jars and seal.
Notes
- Drying prevents clumping and helps the salts stay shelf-stable.
- Store for up to 6 months.
- Customize each blend with dried herbs, additional zest, or extra spice.